
I assume you have installed Sublime Text. This tutorial is for macOS but most settings and screenshots should look the same on other platforms. Sublime Text uses the Marina color scheme by default and I did not change it.
Sublime Text was not added to the path on macOS so I need to do something to run it from the Terminal. I use zsh and execute the following line in the Terminal to add the path to the zprofile file:
echo 'export PATH="/Applications/Sublime Text.app/Contents/SharedSupport/bin:$PATH"' >> ~/.zprofile
Quit and re-open the terminal. The current folder can now be openened with:
subl .
In Sublime Text, settings are found in this menu:
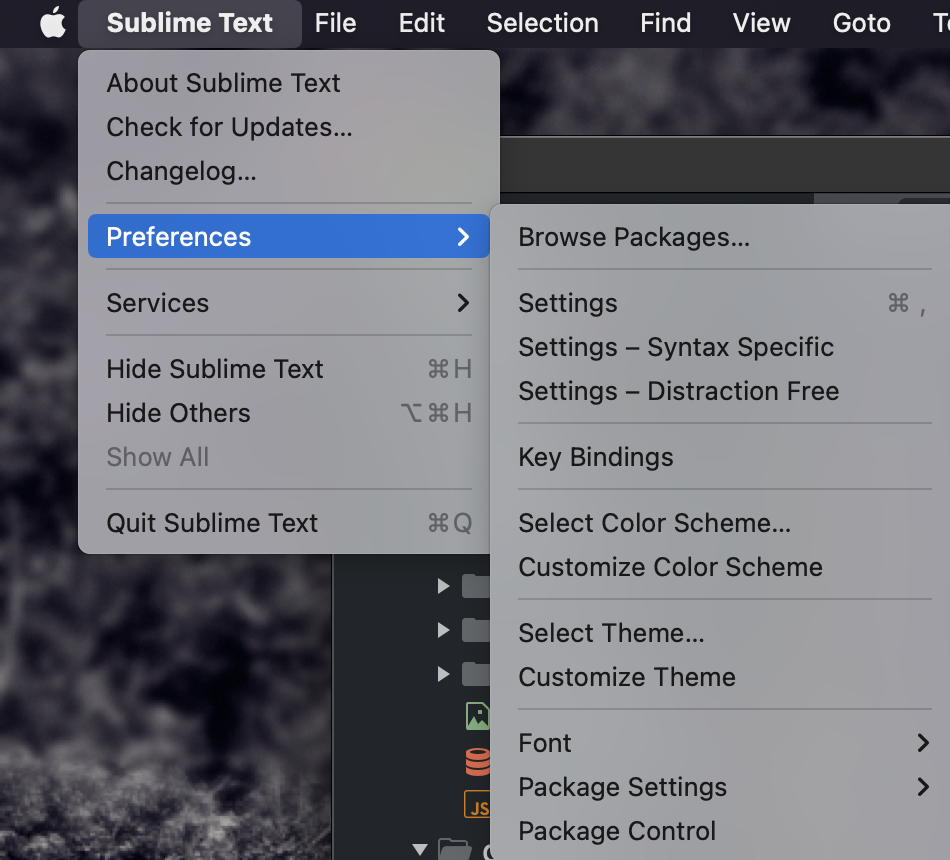
A new window opens and here you can override settings in the right pane. Start by setting the code editor background to the same color as Atom:
// Documentation at https://www.sublimetext.com/docs/color_schemes.html
{
    "variables":
    {
    },
    "globals":
    {
        "background": "#292c33",
    },
    "rules":
    [

    ]
}
The location of the edited file is '~/Library/Application Support/Sublime Text/Packages/User/'.
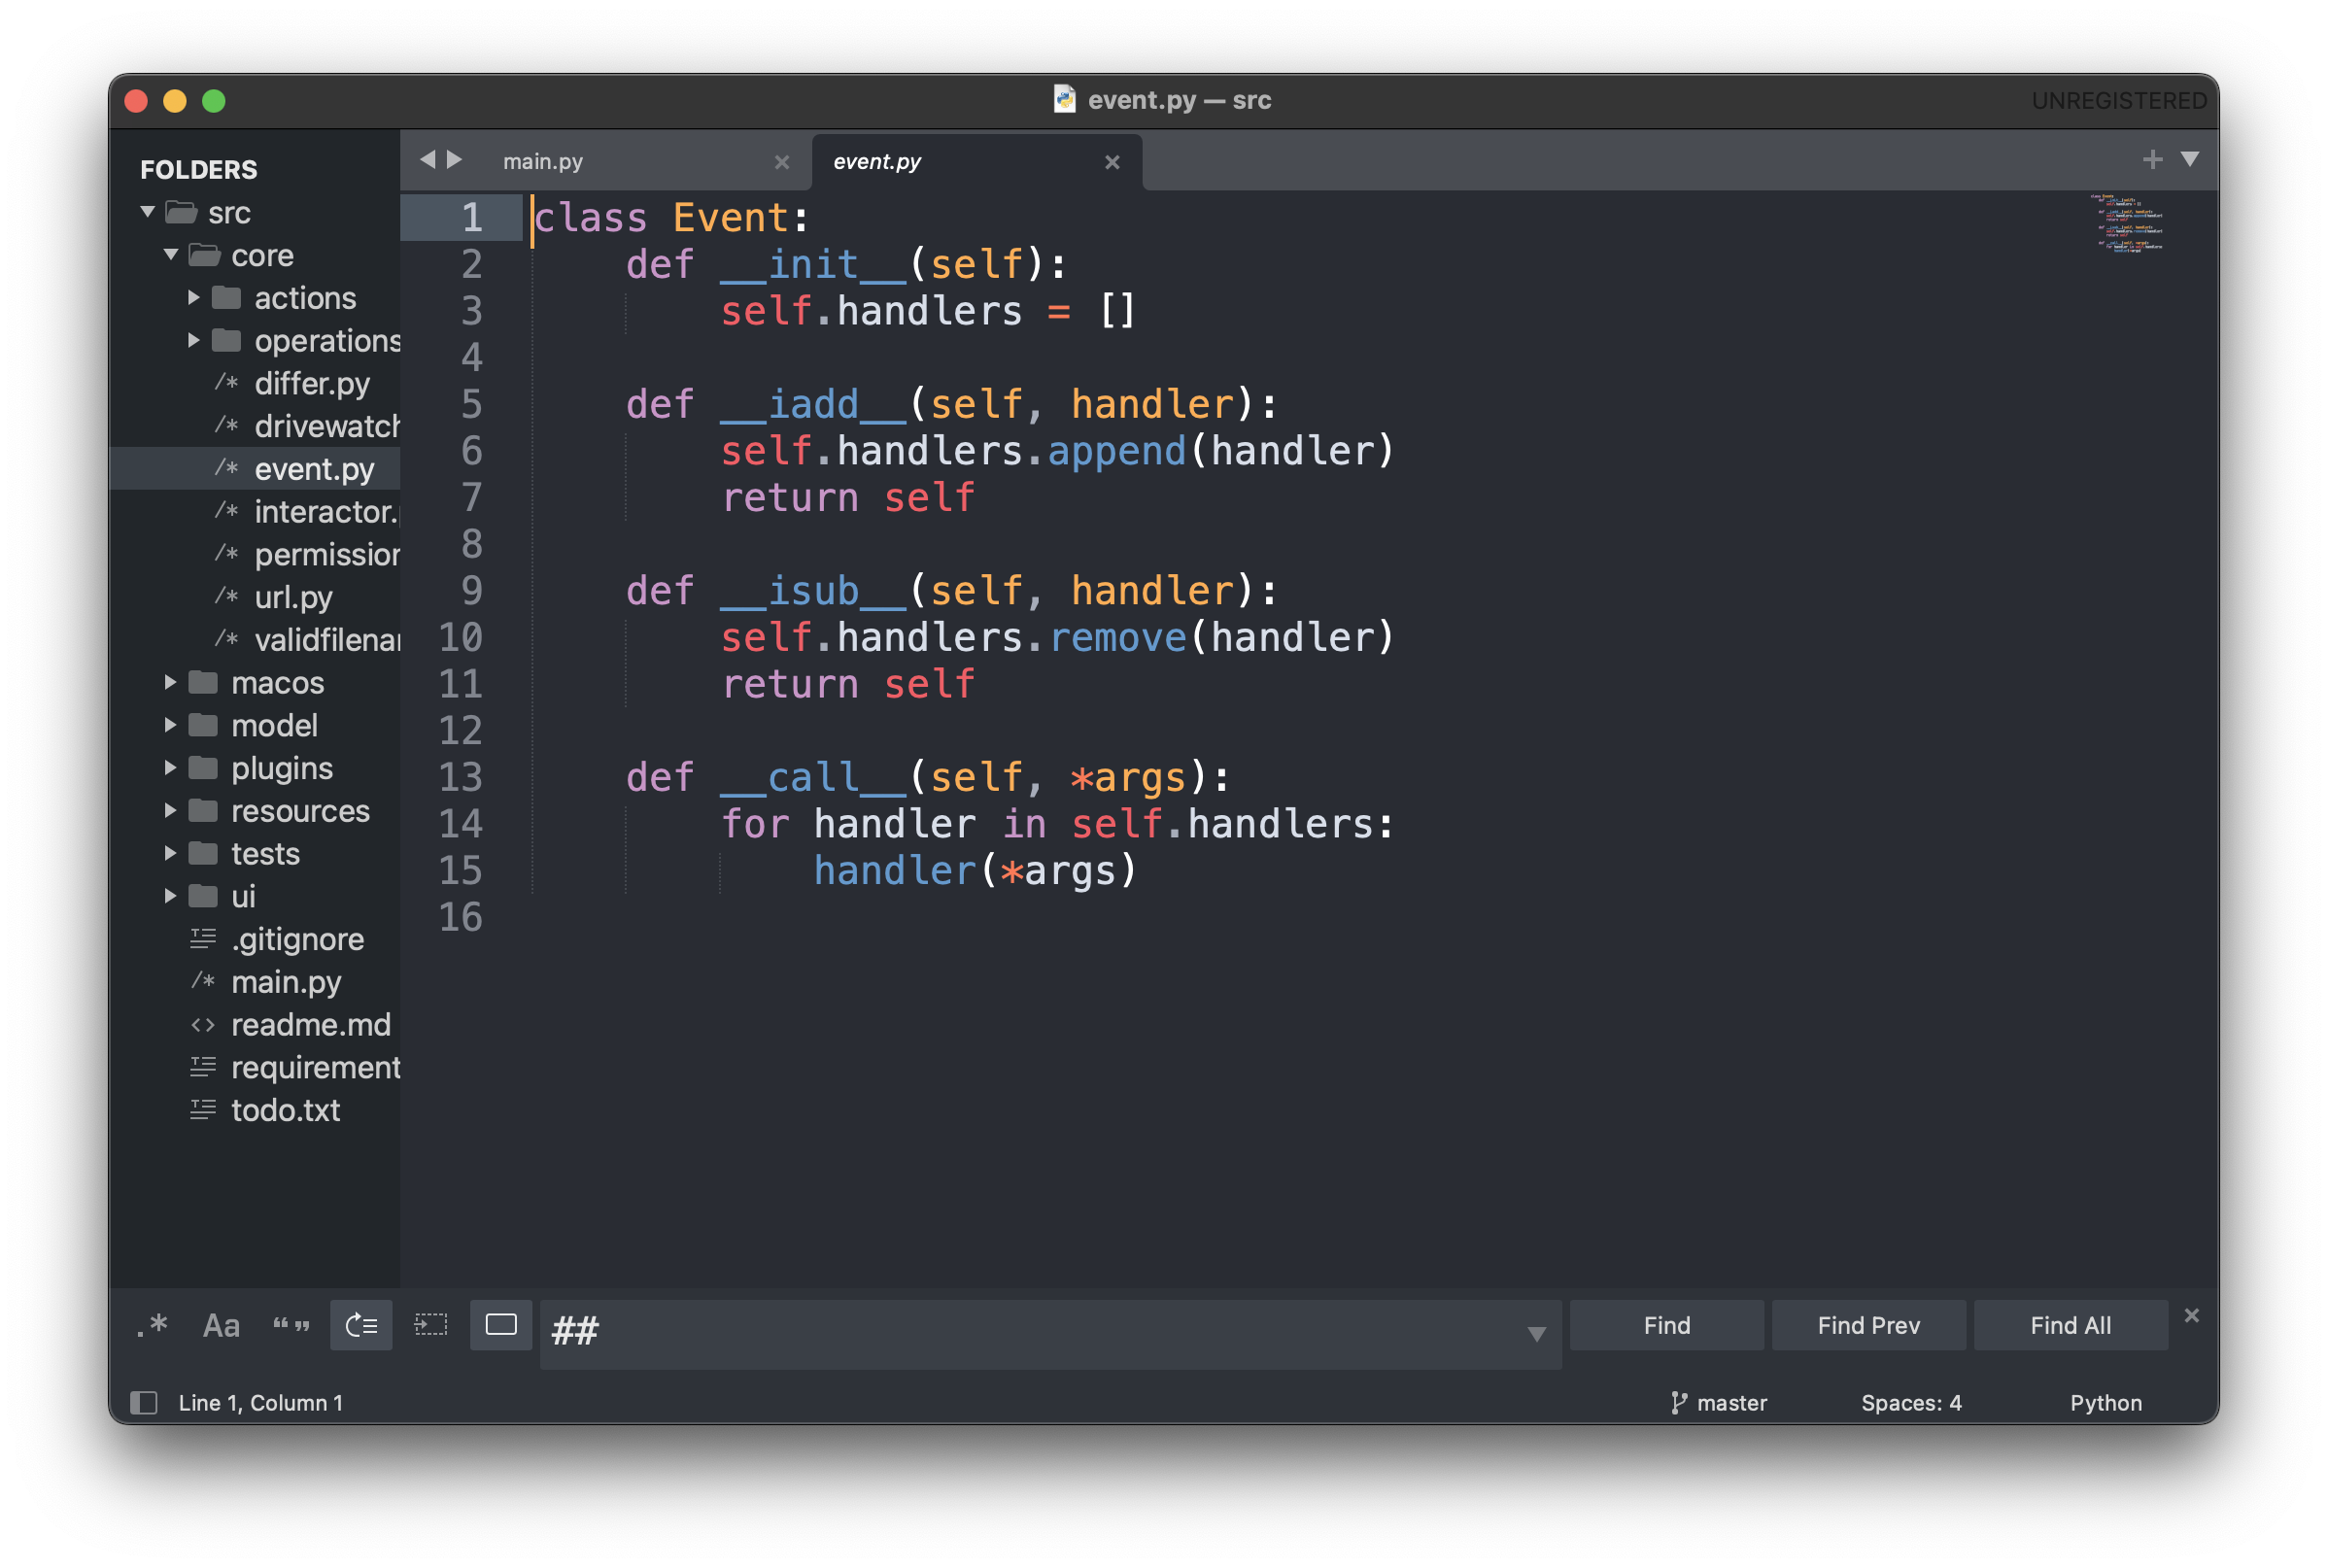
Sublime Text should look like this:

// Documentation at https://www.sublimetext.com/docs/themes.html
{
    "variables":
    {
    },
    "rules":
    [
        {
            "class": "sidebar_label",
            "font.size": 16,
        },
    ],
}
By default, Sublime Text does not use the Home key to go to the beginning of the line. You can enable this by adding key bindings.
[
    { "keys": ["home"], "command": "move_to", "args": {"to": "bol"} },
    { "keys": ["end"], "command": "move_to", "args": {"to": "eol"} },
]
Here you find general settings. I added comments for the ones I have overridden:
{
    "font_size": 20,
    "theme": "Default Dark.sublime-theme",
    "caret_style": "blink",        // make cursor blink
    "hot_exit": "disabled", // do not remember open files
    "ensure_newline_at_eof_on_save": true,
    "default_line_ending": "windows", // use \n instead or \r
    "font_options": ["no_italic"], // disable italic words in the code
    "auto_match_enabled": false,   // do not match braces and quotes
    "shift_tab_unindent": true,    // enables unindenting single lines
    "color_scheme": "Mariana.sublime-color-scheme",
}
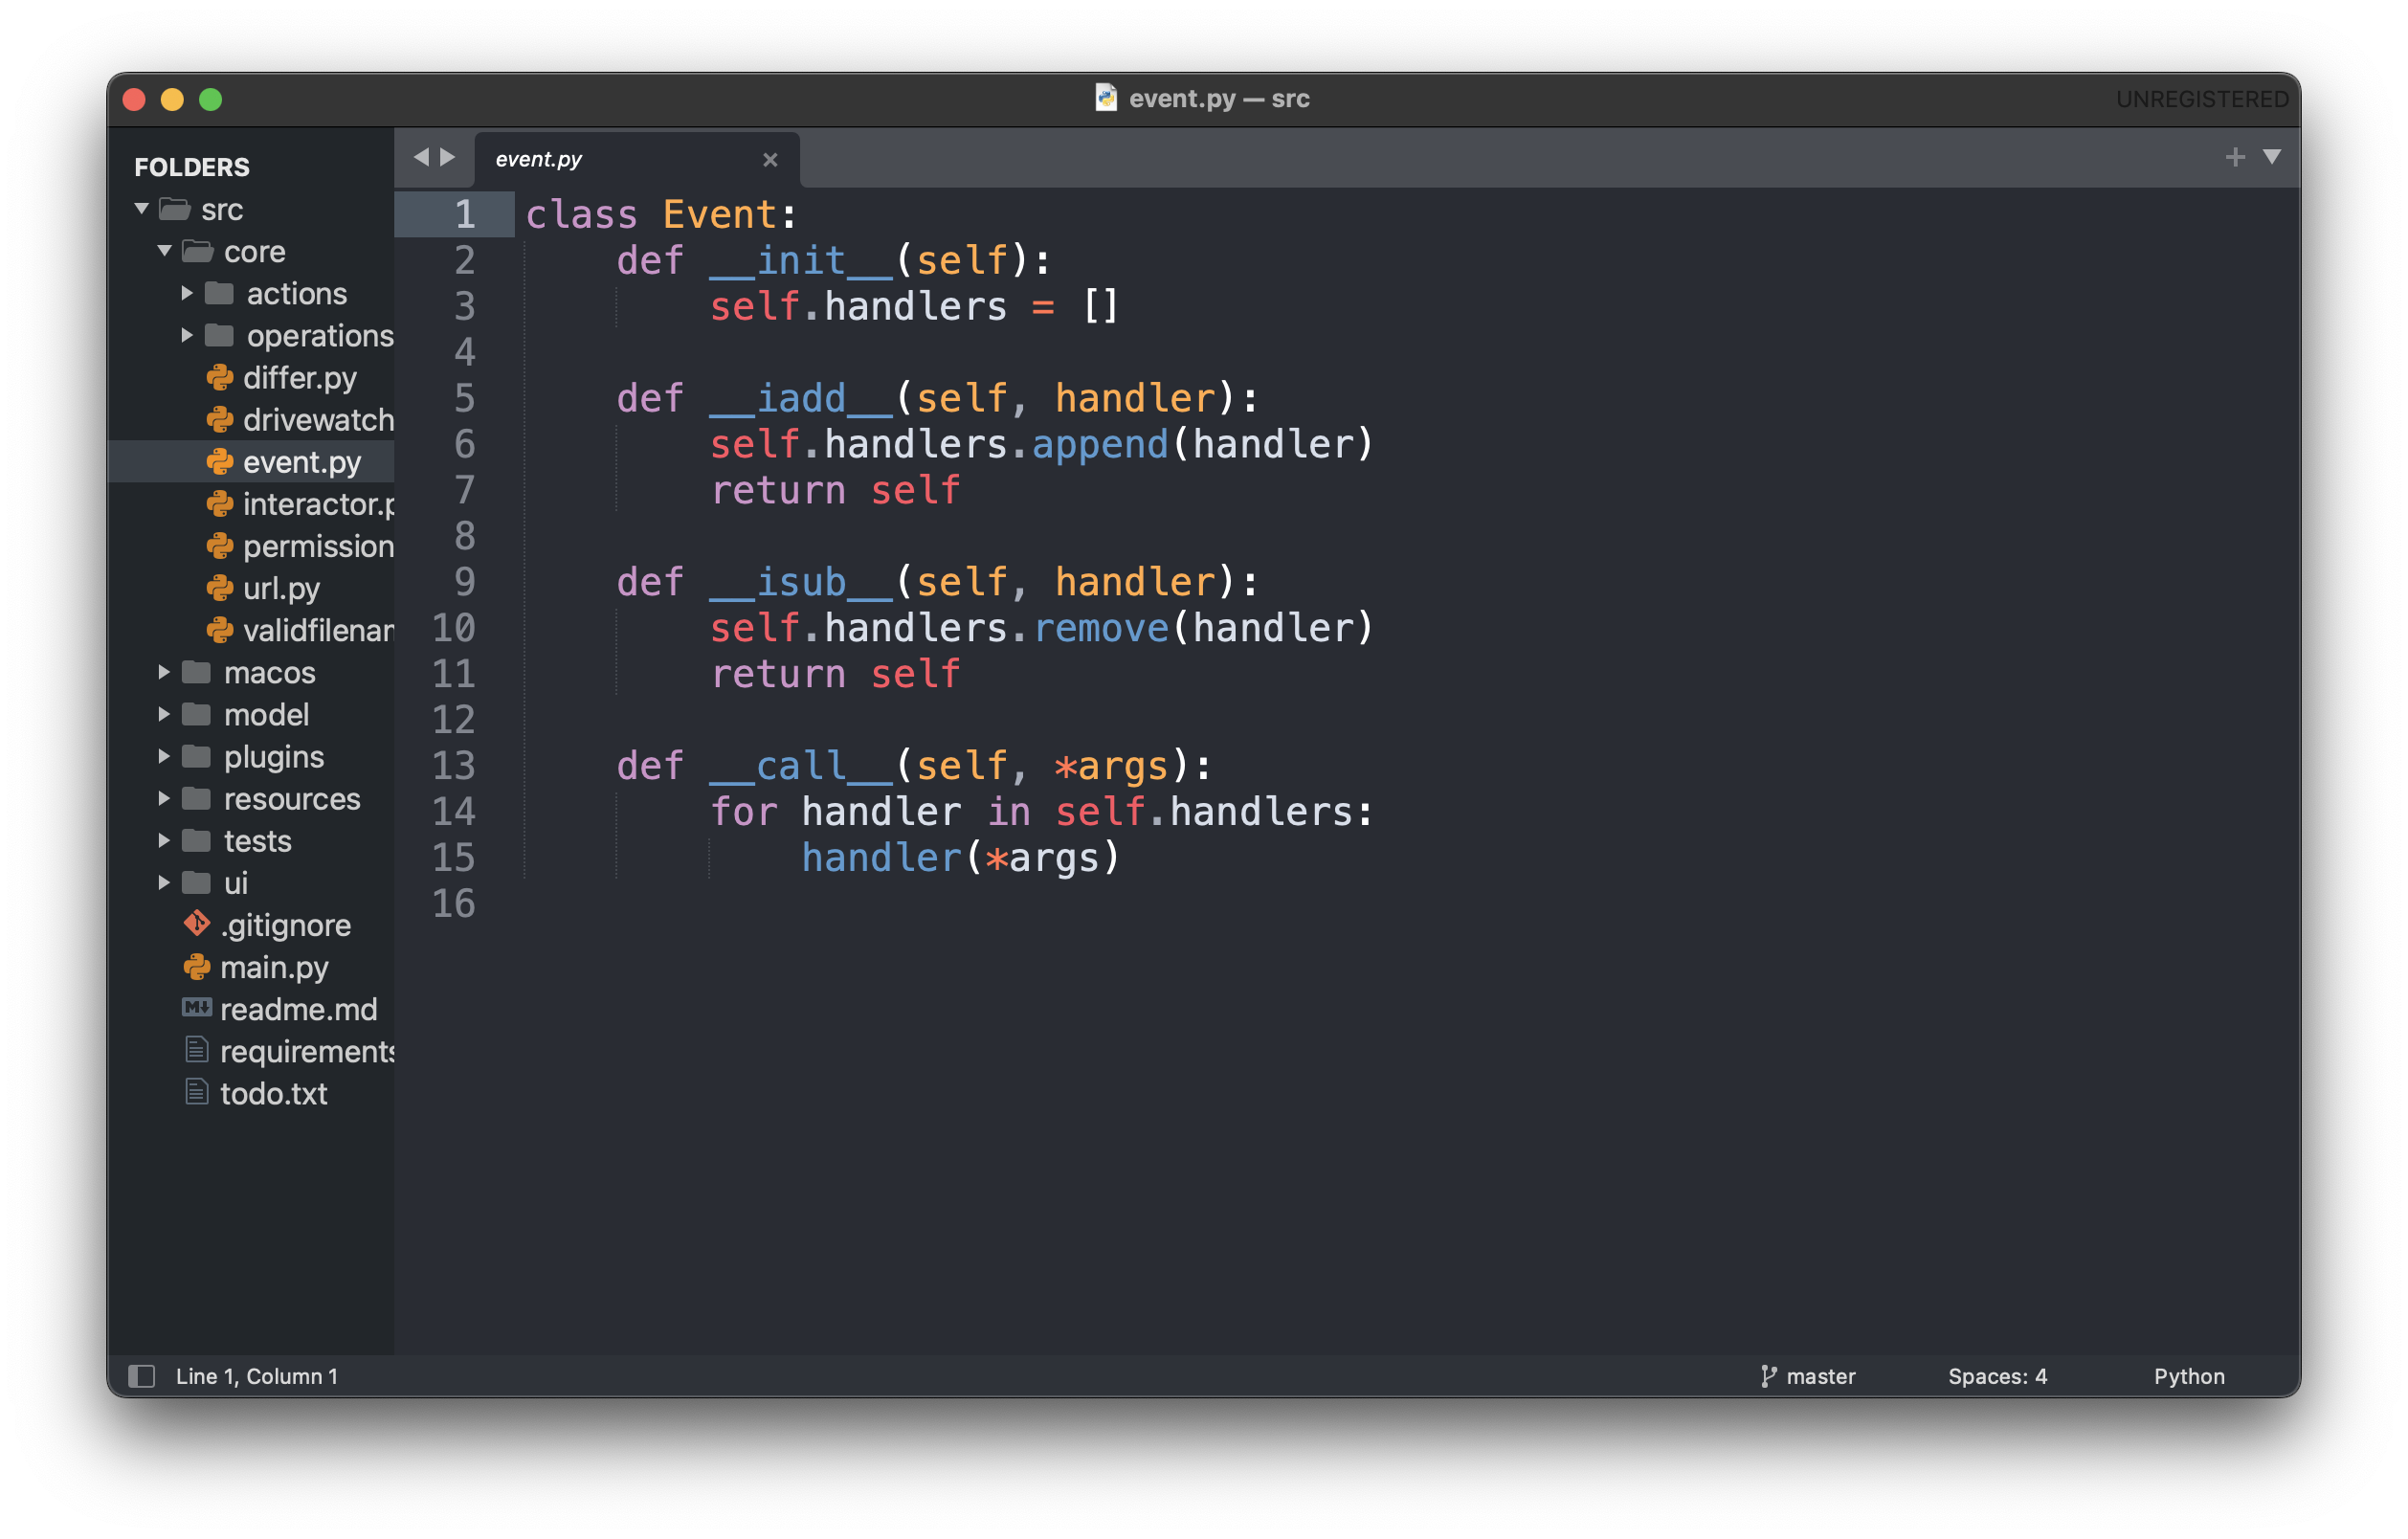
By now, Sublime Text should look like this. A final thing I did is disable the minimap. The Minimap is the thing on the far right side of the code that shows an overview of all code.
Disabling the minimap is done via menu View, Hide Minimap.
To enable Packages in Sublime Text, do the following:
This takes a moment. You are now ready to install Sublime Text packages.
You now see colored file icons in the sidebar.
I hope this helps you with your transition from Atom to Sublime Text. If you have more tips, feel free to mail them to the address below.