
In a post from the past I described how to create fonts for a Windows Store App. If you author a font yourself, you probably know how you mapped the characters. For example, you might map the first icon to the character ‘A’ and increment from there. If this is the case, let’s explore our options how to show that first icon.
<!--decimal-->
<FontIcon FontFamily="/wundercon-light.ttf#Wundercon" Glyph="A" />
<!--hexadecimal-->
<FontIcon FontFamily="/wundercon-light.ttf#Wundercon" Glyph="A" />
<!--literal character-->
<FontIcon FontFamily="/wundercon-light.ttf#Wundercon" Glyph="A" />
To do this in code-behind, name your FontIcon:
<FontIcon x:Name="icon" FontFamily="/wundercon-light.ttf#Wundercon"/>
And use one of these options:
// decimal
icon.Glyph = ((char)65).ToString();

// hexadecimal
icon.Glyph = "\u0041";

// literal character
icon.Glyph = "A";
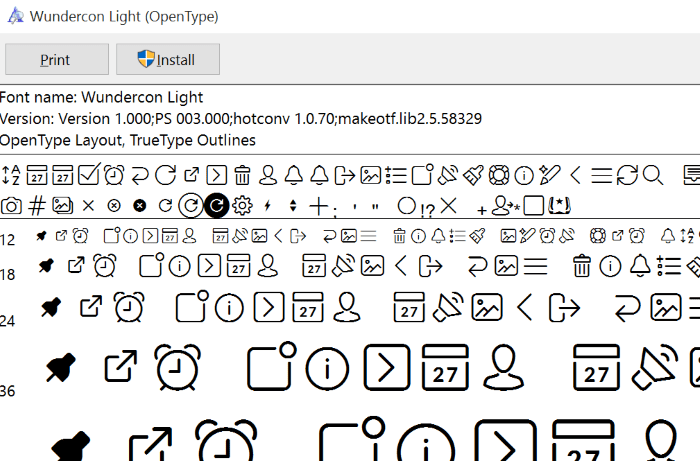
If you get a font from a designer, chances are that you don’t know how the characters are mapped. Opening the font in the Windows Font Viewer, shows the Font Name and characters, but no values:

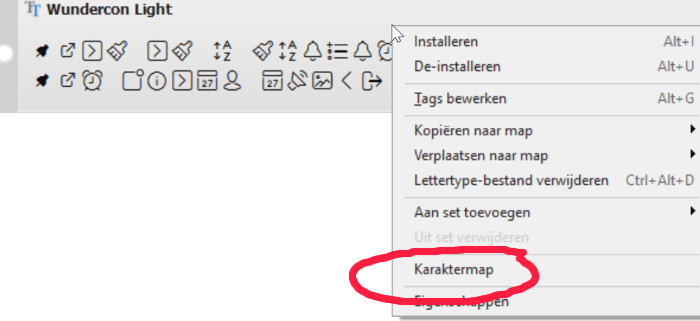
If you have installed the font in Windows, you can open the built-in Character Map app from Windows to find out about the mapping. Another way is to download a Font Manager that supports character maps. I use the portable version of NexusFont for this:

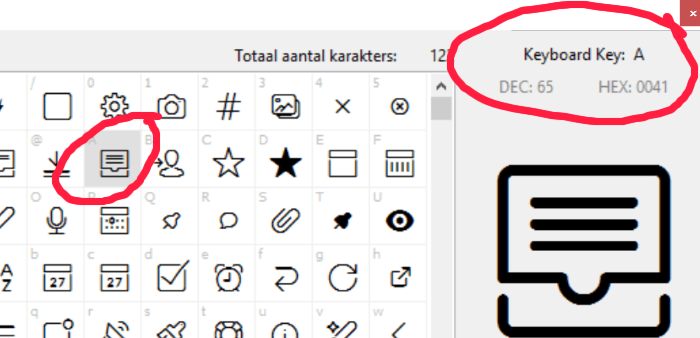
Select the character to see the mapping values:

Now use any of these values (hexadecimal, decimal or literal) in your WinRT app.